Projects2026
MelaCare
An app that scores melasma severity from a selfie, on the phone, on the same clinical scale dermatologists use.
- Year
- 2026
- Role
- End to end: app, backend and CV pipeline
- Duration
- 2 months
- Team
- Individual, with two dermatologists
- Context
- GOQii internship
- MediaPipe FaceMesh
- BiSeNet
- CIELAB photometry
- XGBoost
- ONNX
- Expo / React Native
- Fastify
- Postgres
- Drizzle ORM
- Gemini 2.5 Flash
TL;DR
MelaCare scores melasma severity from a selfie, on the phone, using the same scale a dermatologist uses in a clinic. I built it end to end during my 2026 internship at GOQii: the mobile app, the backend, and the computer vision pipeline. The model was trained on 1,500 faces labeled by two board-certified dermatologists, and it is judged on how well it agrees with them.
Why I built it
Melasma is a chronic pigmentation disorder that causes brown-to-gray patches on the face, mostly on the cheeks, forehead, and chin. It is especially common among South Asian women and people with Fitzpatrick skin types III to V, which describes much of GOQii's Indian user base. These skin types are also badly underrepresented in dermatology datasets.
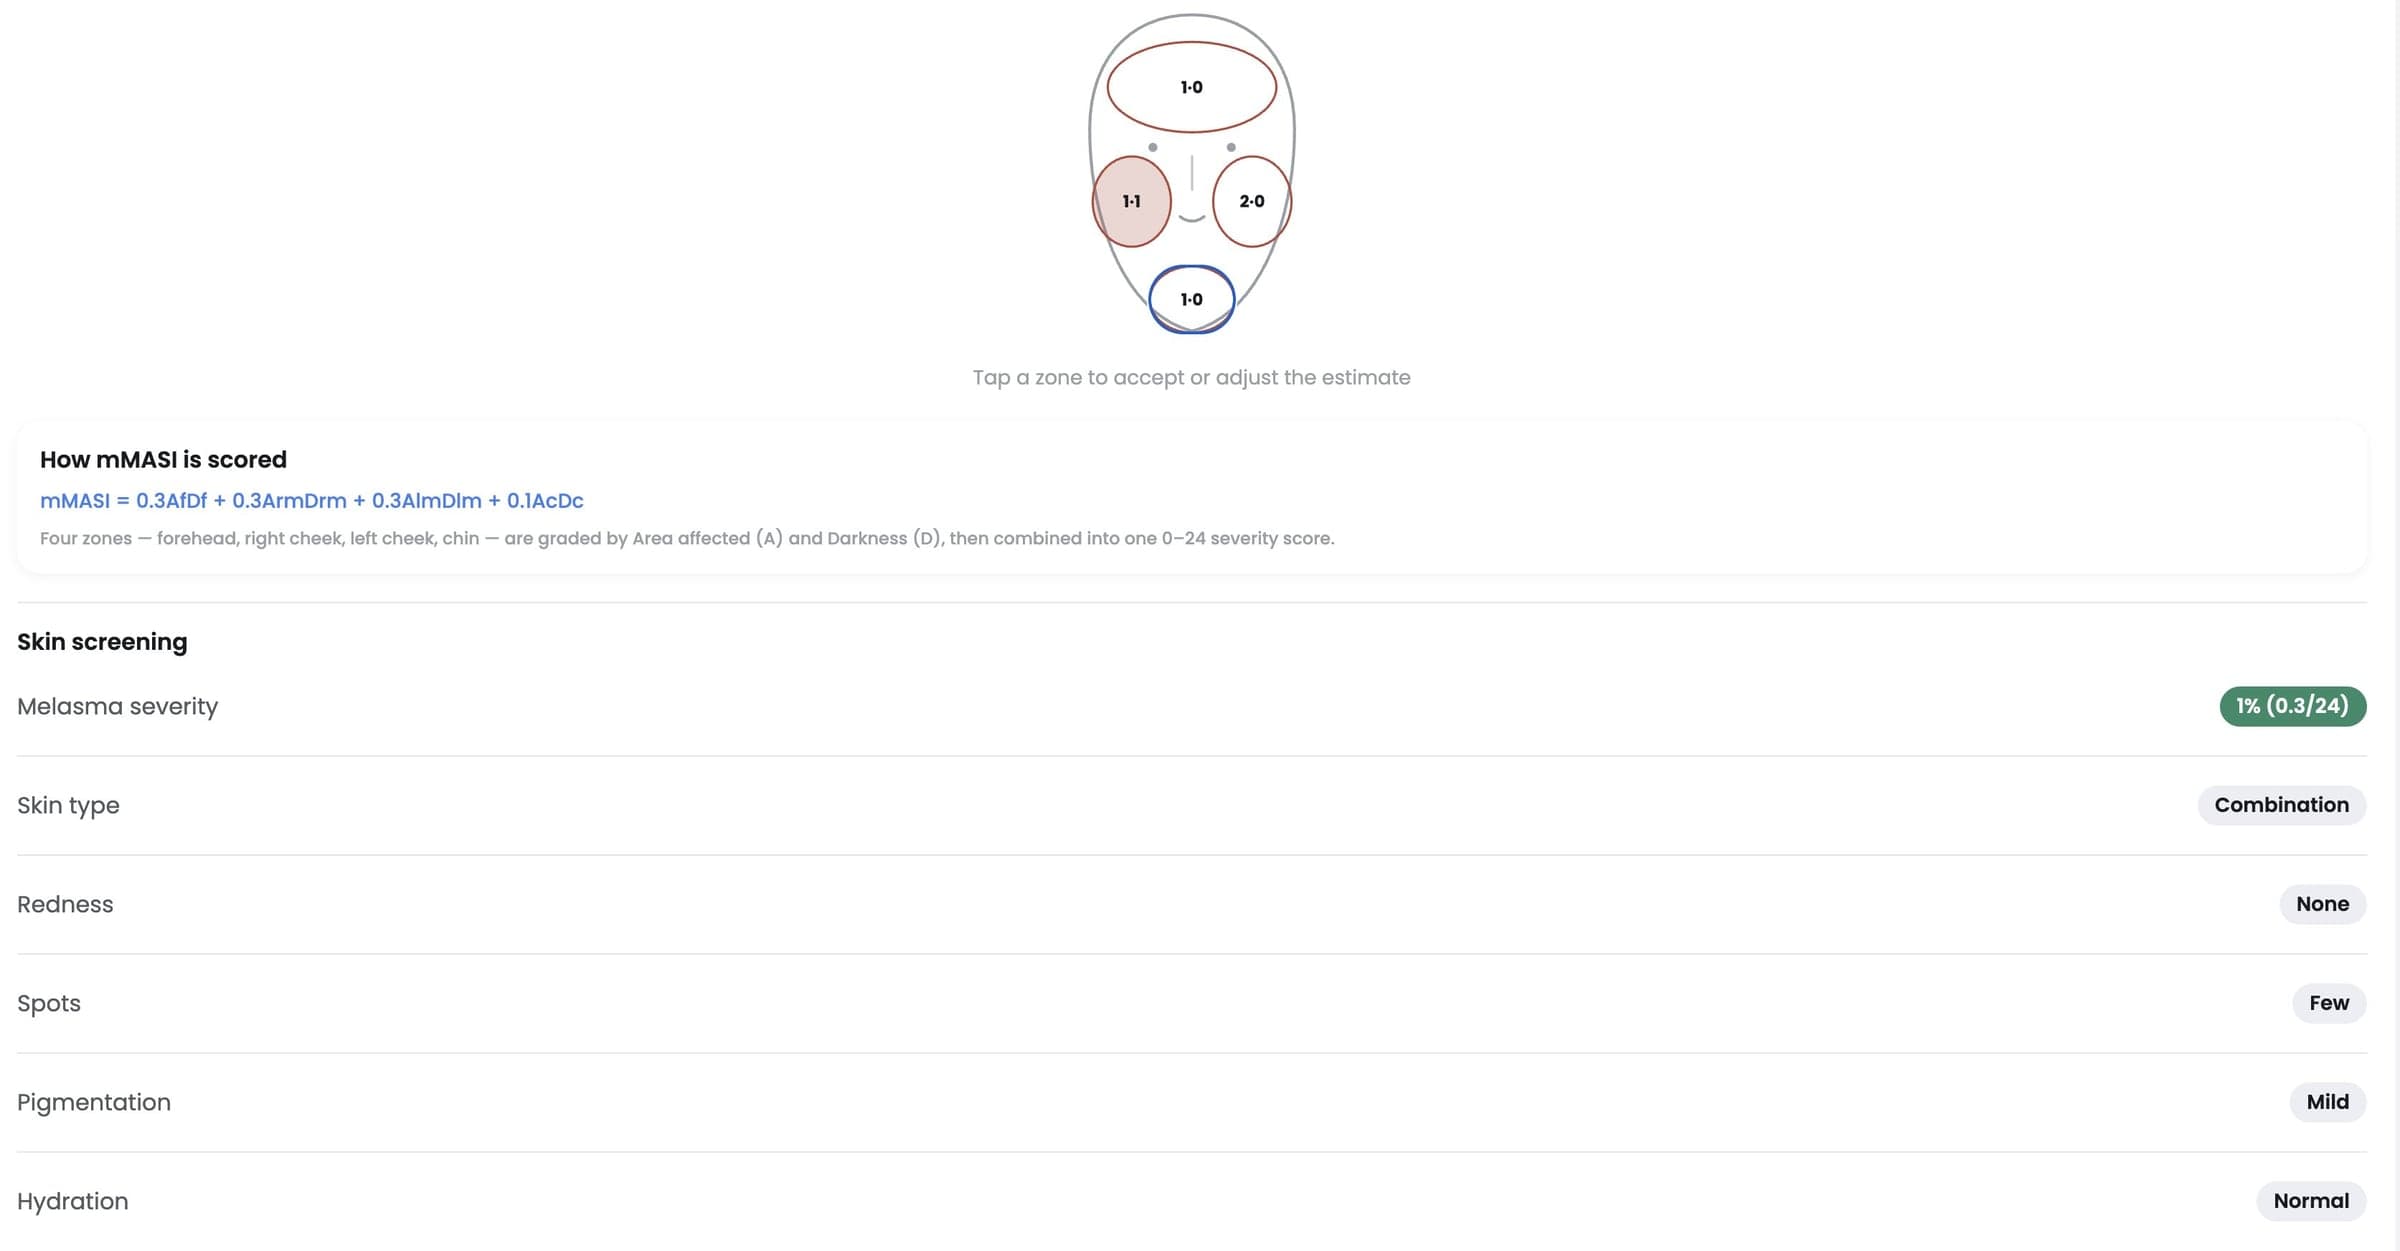
The clinical standard for measuring severity is the modified Melasma Area and Severity Index (mMASI). A dermatologist divides the face into four zones: forehead, left cheek, right cheek, and chin. Each zone gets an area score from 0 to 6 and a darkness score from 0 to 4, and the zones are combined with fixed weights into a score from 0 to 24.
Until now, this scoring happened only in a clinic, by eye. That made it subjective and inconsistent between dermatologists. It was also infrequent, so patients had no objective way to tell week to week whether a treatment was working.
GOQii wanted to bring clinical-grade scoring into the patient's pocket so people could track their condition between visits.
How it works
A photo goes in and eight numbers come out: an area score and a darkness score for each of the four zones. Everything up to that point runs on the phone.
1. Capture
The user takes three photos in the app, in good lighting: one from the front, one of the left cheek, and one of the right cheek. It also works from a single frontal photo, but less accurately.
2. Find the zones
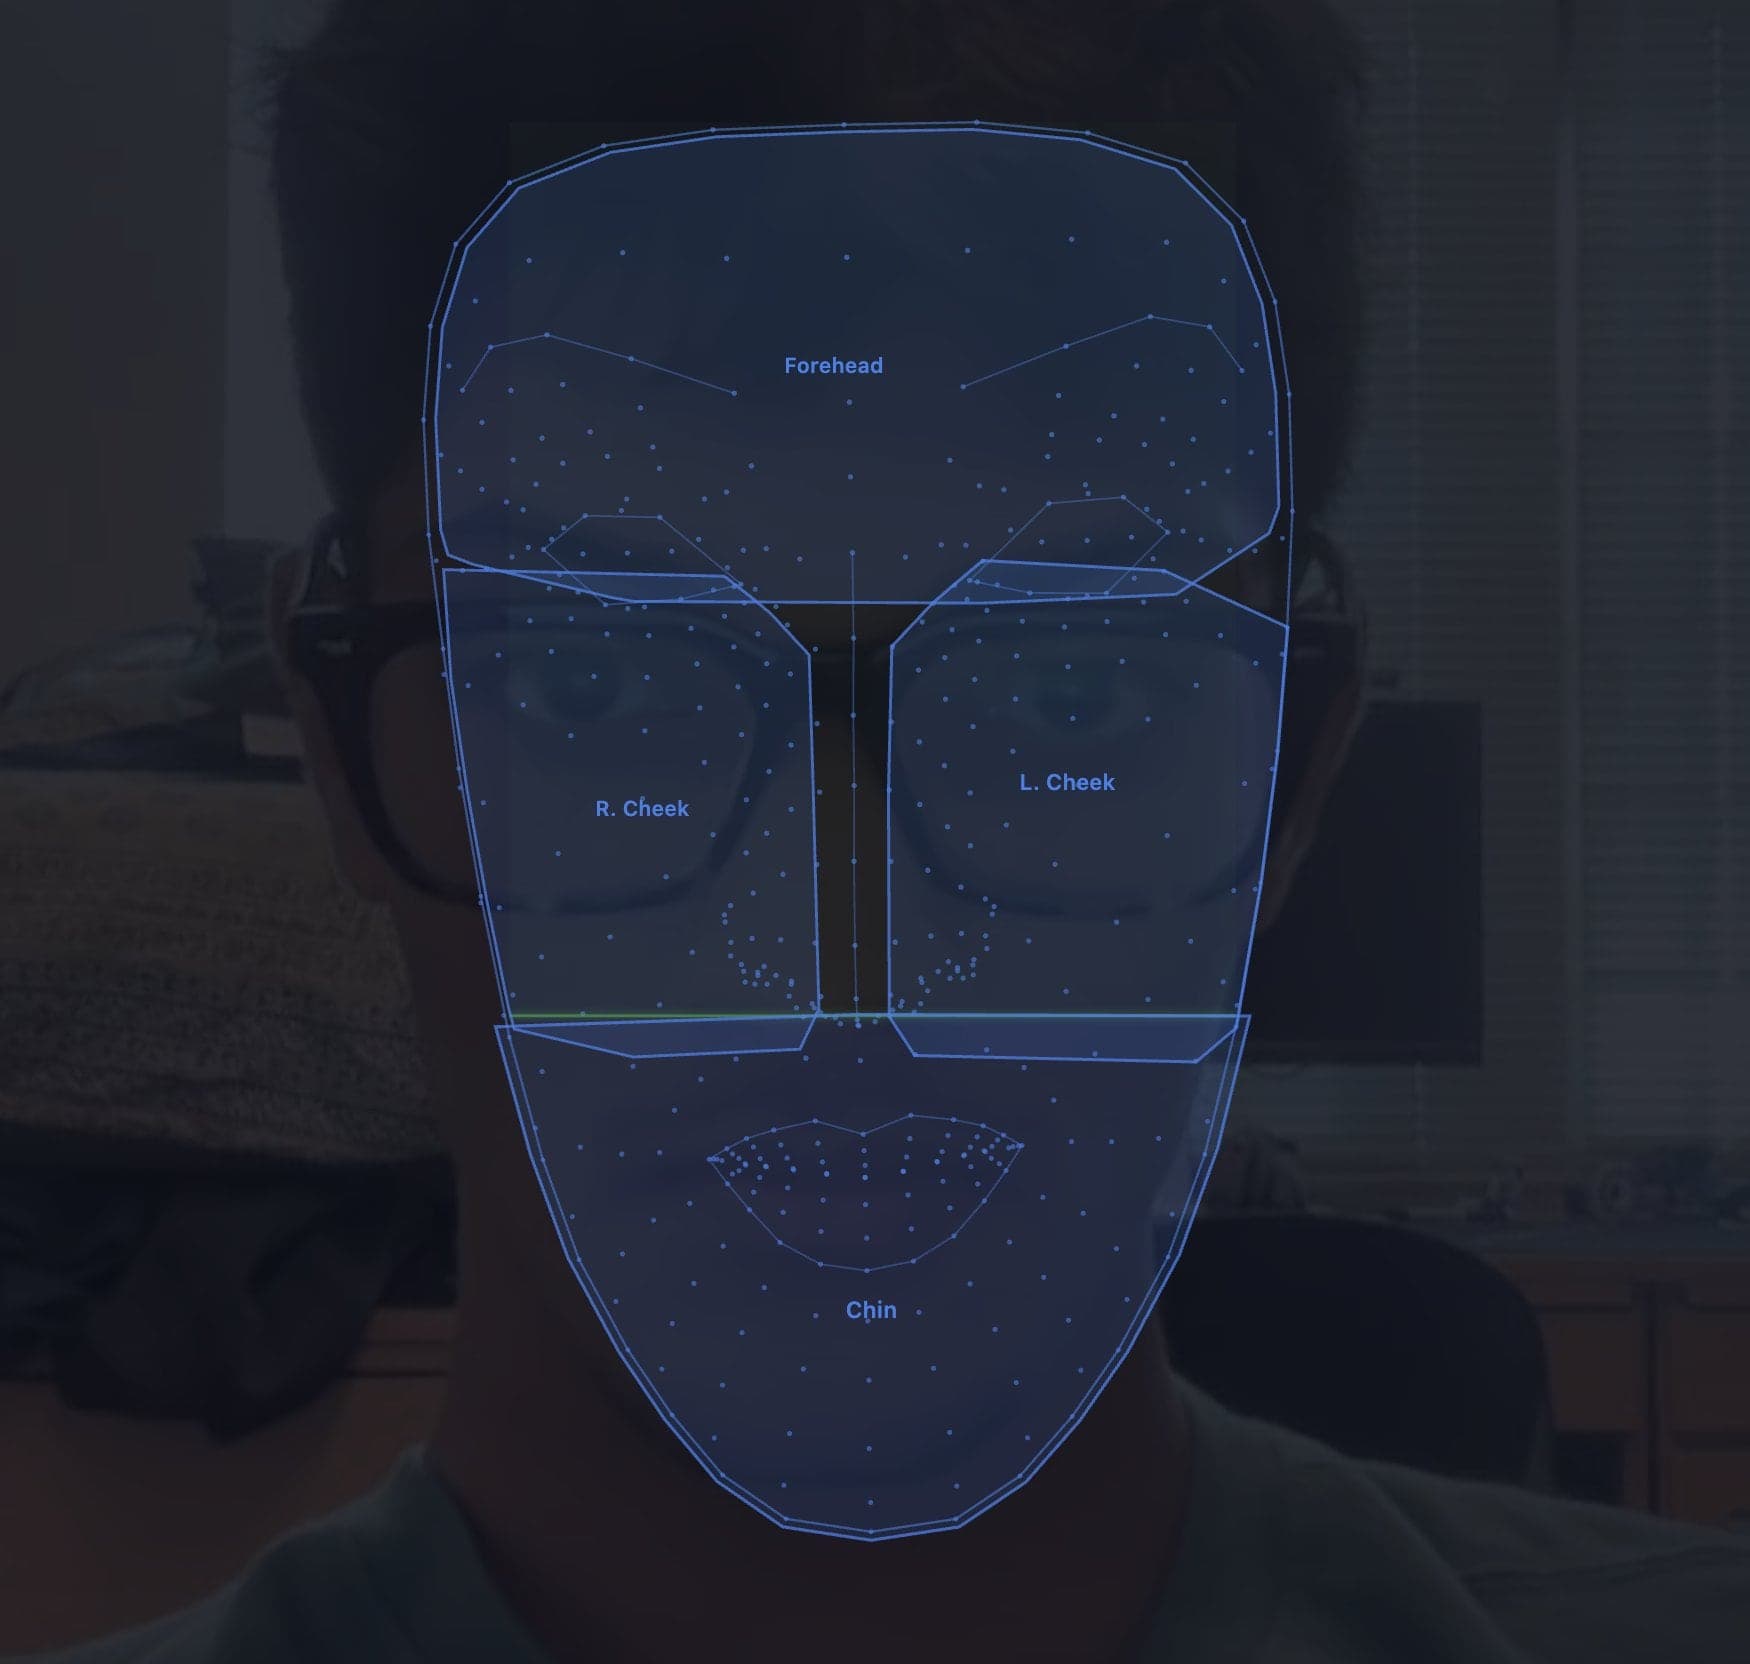
The photo goes into MediaPipe FaceMesh, which places 468 landmarks on the face. I mapped subsets of these landmarks to polygons for the four mMASI zones. The zones follow the face's own geometry, so they line up across head positions and face shapes.
3. Keep only skin
The same photo goes through BiSeNet, a face-parsing network that labels every pixel as skin, eyebrow, eye, hair, lip, glasses, and so on. Each zone polygon is intersected with the skin mask. That leaves four clean regions of facial skin, plus a reference region of the person's own clear skin to use as a baseline.
4. Measure colour against the person's own skin
The pixels in each region are converted from RGB to CIELAB, because it separates lightness from colour, and that maps onto the biology of melasma:
- (lightness) carries the darkness signal.
- (the yellow–blue axis) tracks the brownish tone of melanin.
- (the red–green axis) tracks redness from blood flow, which is kept separate so redness isn't mistaken for pigment.
Nothing is measured in absolute terms. Melasma is defined clinically as skin darker than the person's own surrounding skin, so every zone is compared with the reference patch, and the model sees differences (, , and the change in Individual Typology Angle) rather than raw values.
This handles skin-tone variation. Without it, a model would treat naturally darker skin as more severe melasma, which is exactly the failure that makes many dermatology models unreliable on Fitzpatrick IV to VI skin. It also handles most lighting variation: the zone and the reference come from the same photo, under the same light, through the same camera pipeline, so exposure and white-balance shifts largely cancel out.
For the area score, I calculated the fraction of each zone's skin pixels darker than the reference by more than a threshold. That fraction maps onto mMASI's area buckets:
| Area score | 0 | 1 | 2 | 3 | 4 | 5 | 6 |
|---|---|---|---|---|---|---|---|
| Zone affected | 0% | under 10% | 10–29% | 30–49% | 50–69% | 70–89% | 90–100% |
5. Score each zone
The feature vector goes into an XGBoost multi-output regressor, exported to ONNX and run on the phone. It outputs eight values: area (0–6) and darkness (0–4) for each of the four zones.
It was trained on a proprietary dataset of 1,500 facial images. Two board-certified dermatologists labeled every image independently, with the full per-zone breakdown rather than a single composite number. The labeling process included calibration sessions to align the two, measured with the intraclass correlation coefficient (ICC), and their scores were averaged. Data was split by patient rather than by image, roughly 70/15/15, so the model is never tested on a face it has already seen.
6. Compute the score
The eight sub-scores are combined with the clinical formula, where is area and is darkness:
The model never predicts the composite directly. It is always calculated from the sub-scores, so each zone's result can be checked against a dermatologist's.
7. Show it and track it
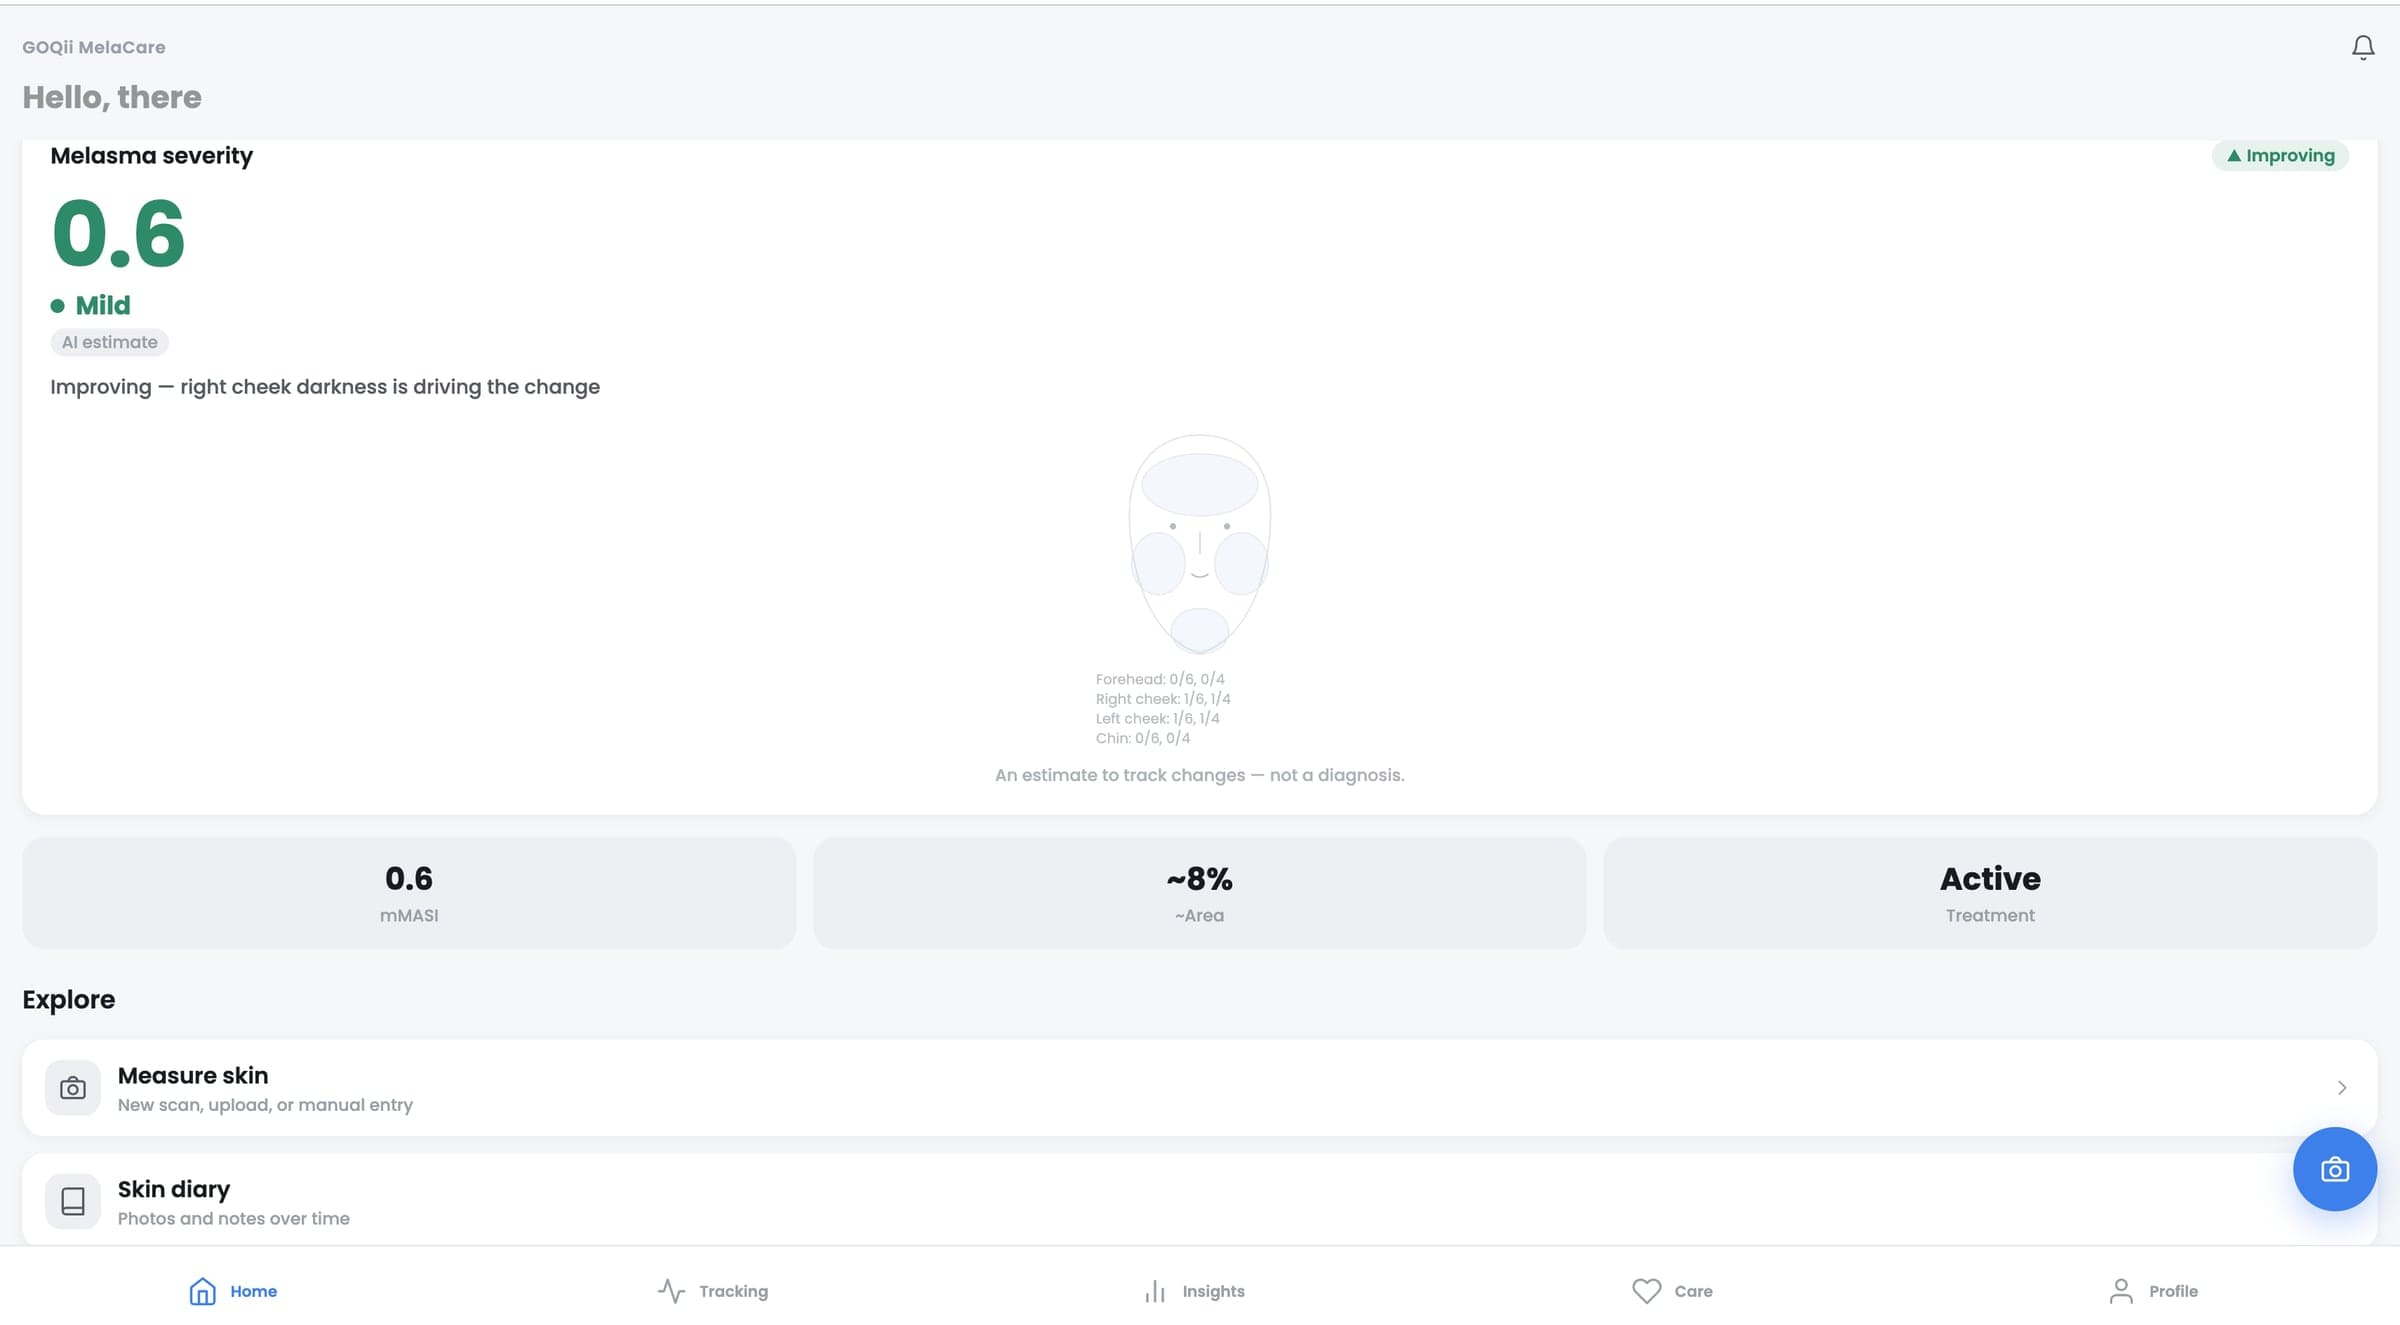
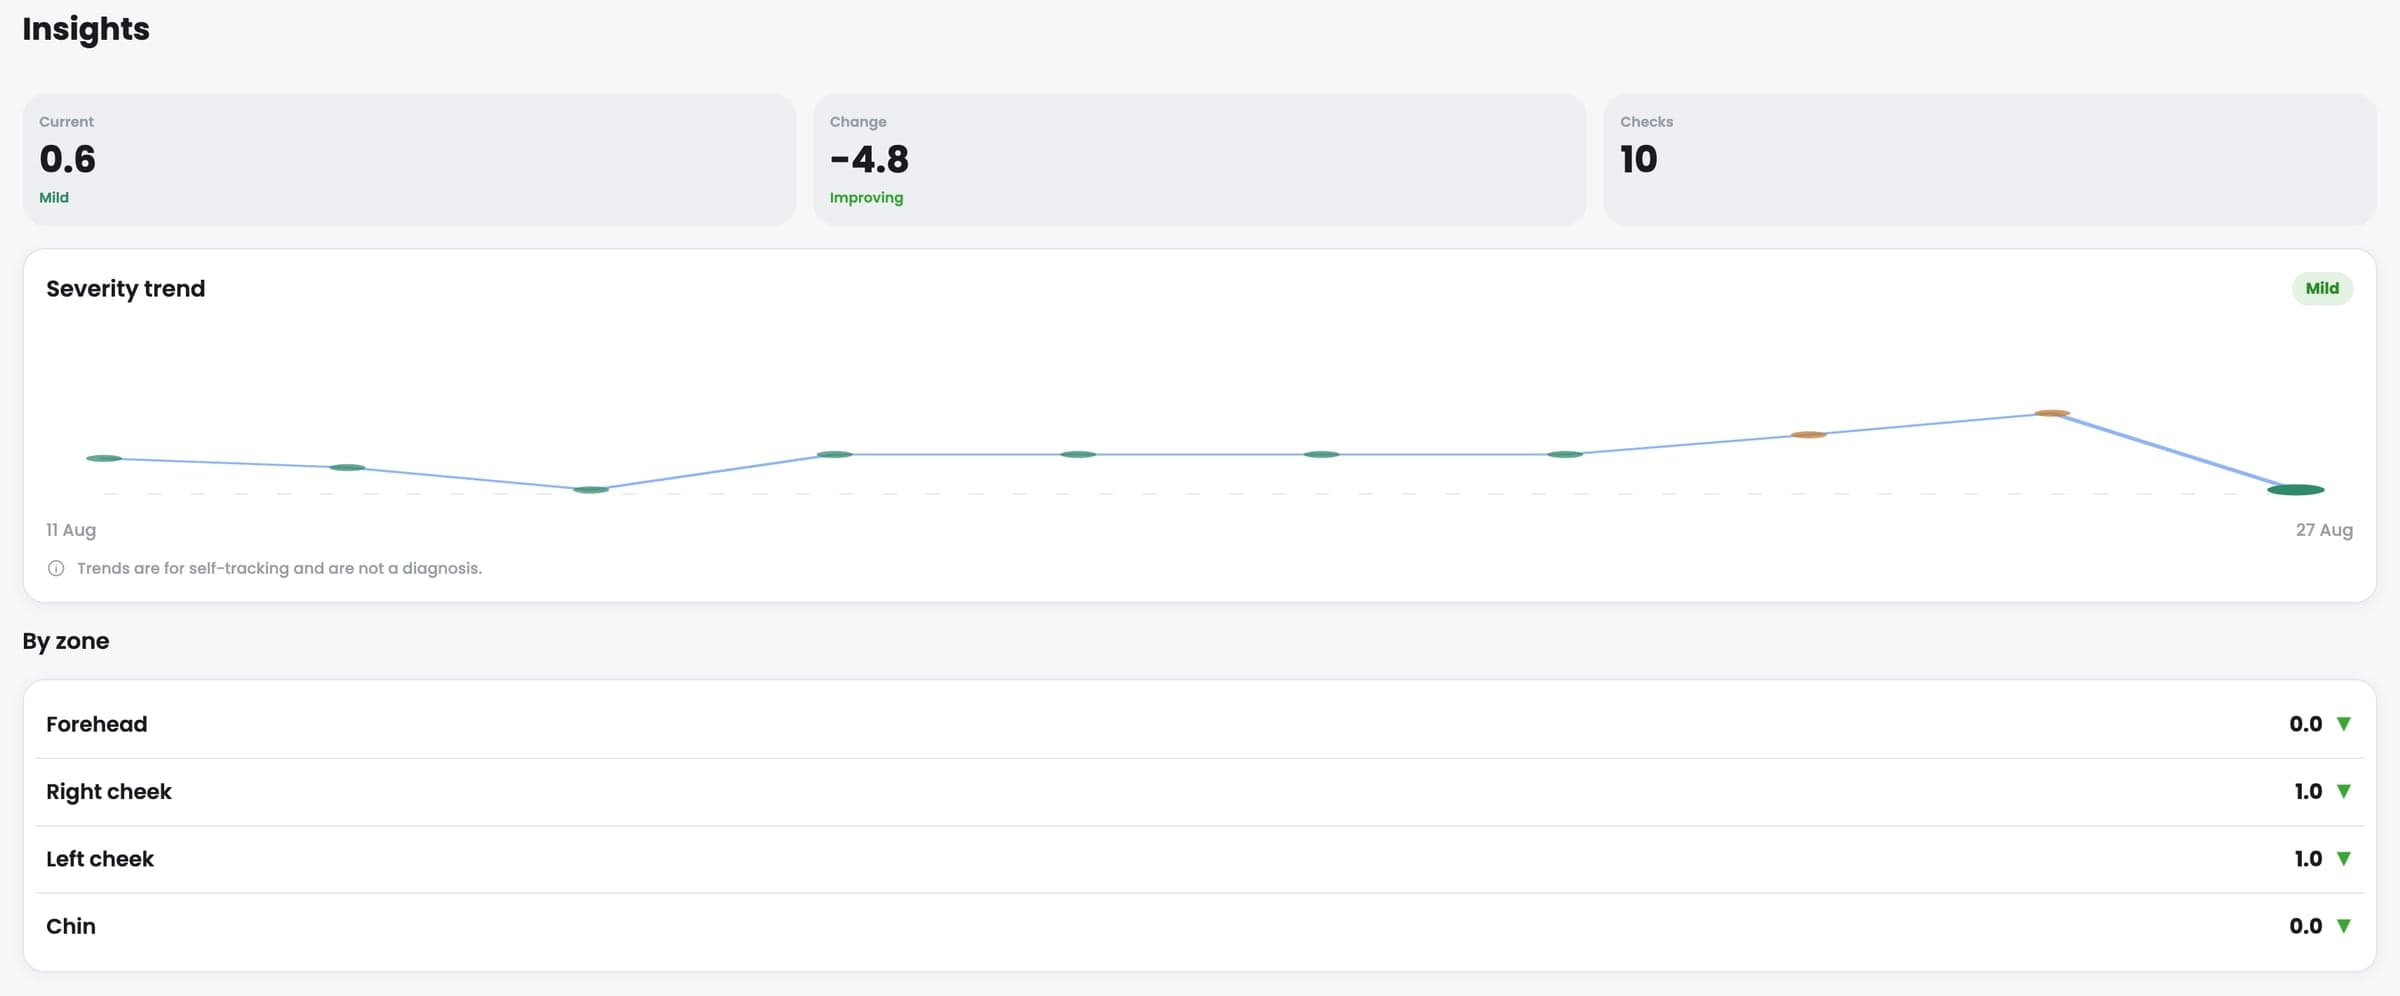
The app shows the composite score with a per-zone breakdown, saves it to the user's history, and uses Gemini 2.5 Flash to turn the numbers into a plain-language assessment. The backend is a Fastify server with a 21-table Postgres schema managed through Drizzle ORM. It stores accounts and profiles, each user's scan history, treatment logs, routines, and questionnaire responses.
Gemini is also the fallback: if the on-device pipeline fails on a photo, Gemini sees the image and gives a secondary score.
How it is judged
The requirements document set a target of 97.4% accuracy, but pixel or class accuracy is the wrong metric for an ordinal clinical score, so I replaced it. The primary metrics are:
- ICC between the model's scores and the dermatologists' scores;
- mean absolute error (MAE) on the 0–24 scale;
- the same metrics broken down by Fitzpatrick skin type, so performance on darker skin can't hide behind the average.
The V1 targets were an ICC of about 0.73–0.78 and an MAE under 1.5. The two dermatologists' agreement with each other sets the real ceiling: a model can't meaningfully beat human experts who disagree.
Key decisions
XGBoost on engineered colour features
With 1,500 labeled images, a deep network risked memorizing the training photos instead of learning the task. Engineered colour features grounded in skin optics need far less data, make every prediction explainable, and produce a model small enough to run instantly on a phone. Deep learning, and eventually segmentation models like SegFormer that can draw lesion overlays, are the path forward as the dataset grows.
instead ofAn end-to-end CNN: a DenseNet121 backbone with eight ordinal output heads, which was my original plan
Predict sub-scores, compute the composite
Predicting the eight zone-level sub-scores keeps the model aligned with how dermatologists actually reason. Each zone can be checked on its own, and the score can show which region is driving severity, which matters for treatment.
instead ofRegressing the final mMASI number directly
Measure relative to the person's own skin
Comparing each zone with the person's own clear skin made the model robust across skin tones and lighting.
instead ofComparing against fixed colour values
Judge it by agreement with dermatologists
ICC, MAE and a breakdown by skin type measure the thing that matters clinically: whether the model scores a face the way a dermatologist would.
instead ofThe original 97.4% accuracy target
Score on the phone
Privacy first: face images stay on the user's device. It also removes the per-scan server cost, works on weak connections, and returns a result instantly.
instead ofSending every photo to a server
Build the dataset
I surveyed the public datasets and the existing literature, and none had the per-zone area and darkness labels that mMASI needs. So I designed the labeling schema and protocol for a proprietary set of 1,500 images.
instead ofPublic melasma datasets
What I learned
What surprised me most was how little of the work was the model. I expected architecture choices to be the hard part. In practice, the largest and slowest part of the project was the data.
Building a dataset of 1,500 images with complete per-zone labels from two dermatologists took far longer than writing the pipeline. I had to find the right clinical partners, design a labeling schema and photo protocol, run calibration sessions so the two dermatologists scored consistently, and manage labeling at that scale. No public dataset had what mMASI needs, so there was no shortcut.
the ceiling on accuracy is set by how much two experts agree with each other, not by the model.
The real technical enemy was the phone camera quietly altering skin colour, not the choice of algorithm. The highest-leverage decisions were about what to measure, what to compare it against, and which metric to trust.
If I did it again, I would start the data partnerships and labeling protocol on day one, in parallel with everything else, because data collection sets the pace of the entire project. It changed how I approach ML problems: I now start by asking where the ground truth comes from and how long it will take to get, and work forward from there.